
How to Scan Negative film and Convert into High-Quality Digital Photos in Photoshop
In This Tutorial, I will go to show on How to Convert Negative film Photo to Digital Photo in Photoshop. Watch Full Tutorial, I hope you Must Like This Tutorial. You can Learn How to Scan / Convert Negative Photo to Digital Photo & how to change the shirt to tie coat in Photoshop. Guide to converting negatives to digital, negative to digital colors in Photoshop, Digitalize a negative photo.

How to Scan Negative film and Convert into High-Quality Digital Photo?
Step 1:
Firstly open Photoshop and Open your images. For Multiple select Hold Control key and click on your images. Then open. You need to Capture this Negative Film. You can easily Make digital photos just Follow me Carefully. Press CTRL+I or Manually Go to Image then Adjustment then Click on Invert.Step 2:
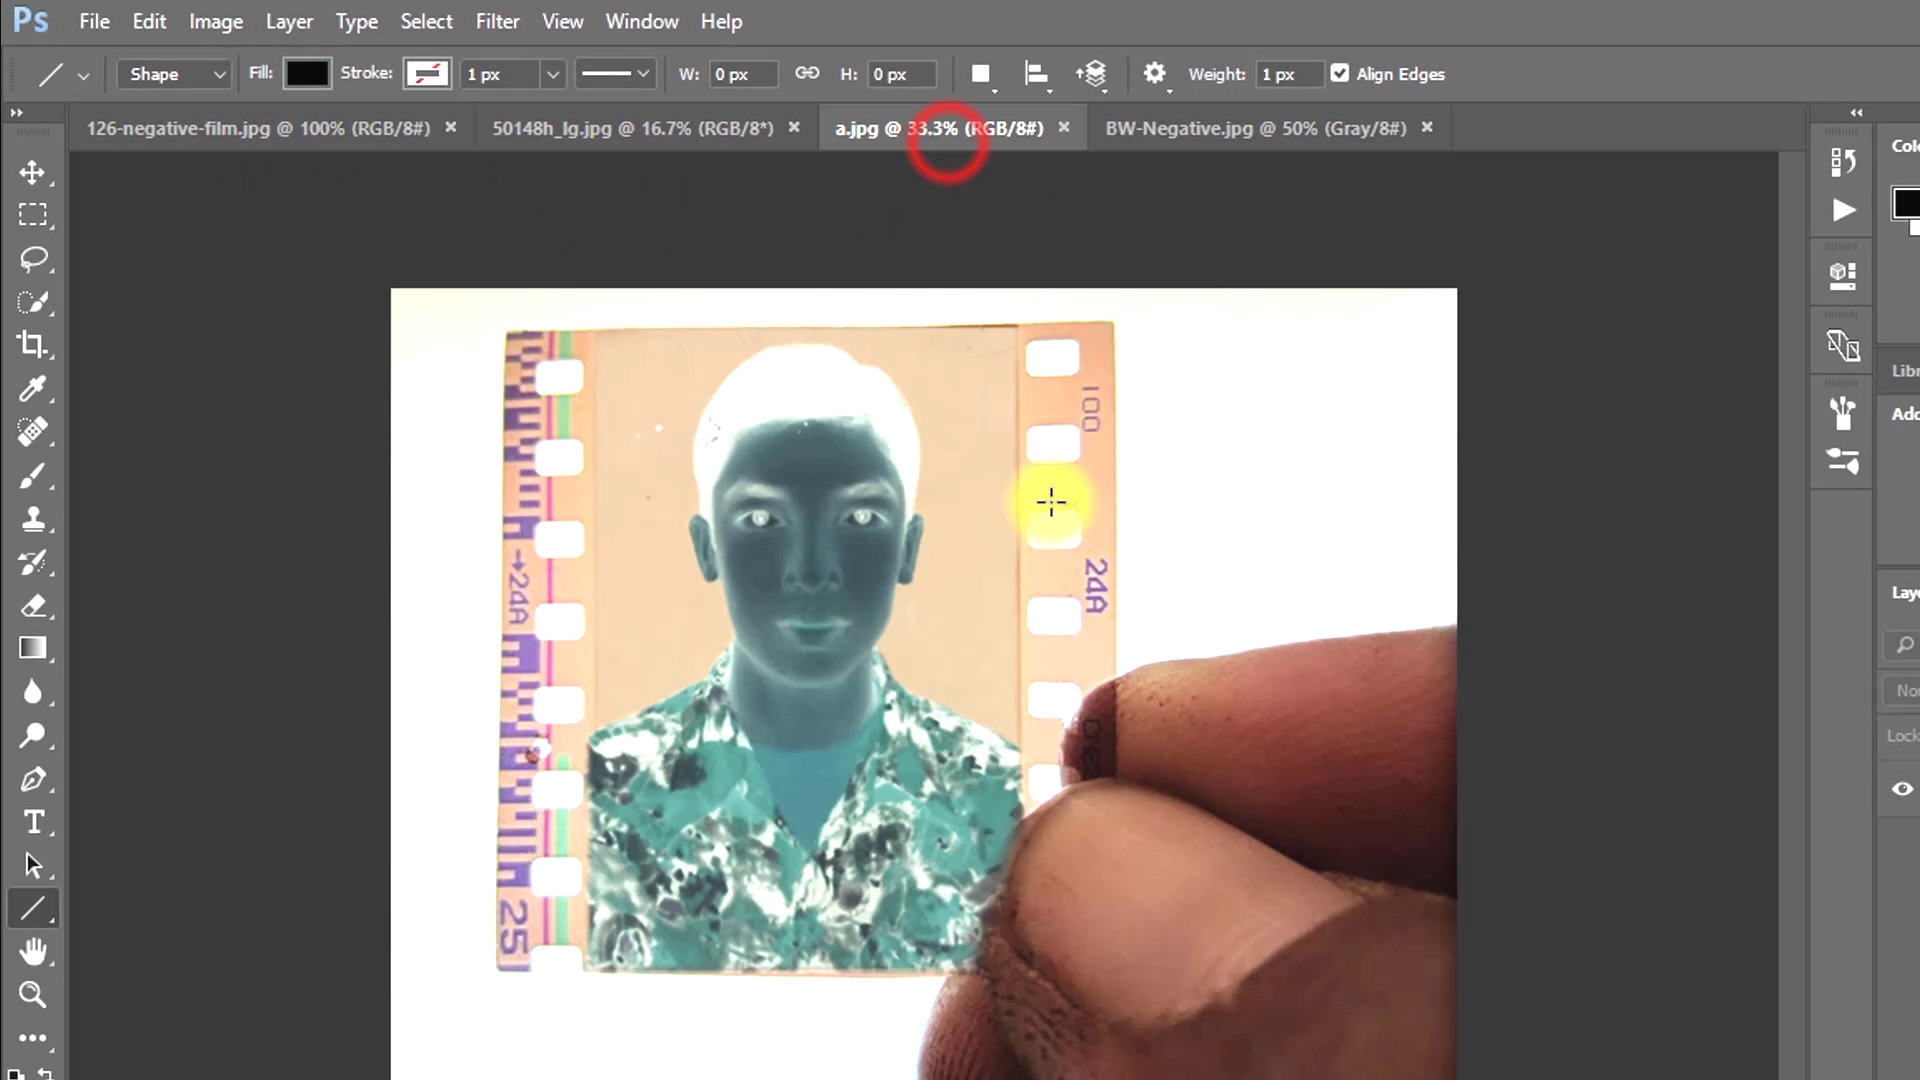
the same way you can Invert any Images. So Let's Start. this image how can make it Digital Photo just watch my Work. Now close Another Image. just keep which image you want to digital. Select the Rectangular Marquee tool and select your image. then Go to File then new.For creating the new page. Now select the Move tool and Move this image to the new page. Press CTRL+T for Resize your image. Hold the SHIFT key and drag from the Corner side. After resize then crop your image. this image I want to passport size so give the size.
Step 3:
Now spot Healing tool or Patch tool for remove skin spots, a select Clone stamp tool and Hold Alter key for Select any Position which you want to clone. Now select Pen tool for Cut your image. Follow my work. For your Best Understand, I Use zoom on the working position.After Selection then Press Control R for Refine edge. in this refine edge smooth is 2. Output to select New Layer and make sure Checkbox Remember Settings. You Can Use Any Background. Just select your Background layer and select Background Color and Press Control Backspace.
Step 4:
I Used White Background. Now Setup a coat on your body. Select Your Original image layer and Create a mask. Now select the Brush tool and Make Sure to Foreground Color is Black. Select your image layer and Go to Filter then Camera raw filter. Now Select your top of the layer and Press ALT+CTRL+SHIFT+E and apply the current image.Step 5:
Now select this layer and increase image size. Now copy your layer for Smooth skin. go to filter then blur then surface blur. Select this layer and Hold Alter key and layer Mask.Now Select your top of the Layer and Press ALT+CTRL+SHIFT+E and Apply the current image. Go to filter then noise then Reduce noise. Select the layer and use the Color balance for your image more effectively. Now Save you Image.
Working Screenshots Below:


See Another Related Post:
How to Outdoor Portrait Blur Background Photo Editing
Blur Photo Background and Green Effects
CLICK THE DOWNLOAD BUTTON FOR FREE
Negative Film Images Get it
Video Tutorial:
“Be Creative, Be Success”
Photoshopfree.net
Thank You For Visiting.
Photoshopfree.net
Thank You For Visiting.
Amoxicillin Directions https://cheapcialisir.com/# - cialis online purchase Propecia Finasteride Msd buying cheap cialis online Keflex Capsules
ReplyDeletePost a Comment